


Yesterday, I shared with you the super easy tutorial for making almond butter (and other nut butters), and as I expected, it was a huge hit! If you haven’t checked it out yet, you can view it here.
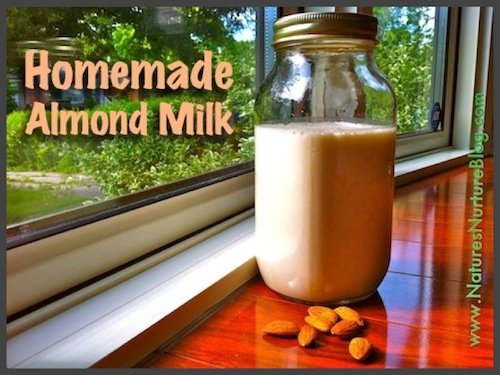
Today, we’re making almond milk, and I think it’s just as awesome, if not more so! Hubby and I only recently started getting into the world of almond milk, to tell you the truth. Not because of any dairy allergies or anything; we were just interested in venturing out and trying alternatives to cow’s milk.
Why almond milk?
Turns out, almond milk is actually pretty healthy! Compared to cow’s milk, it’s lower in fat, calories and cholesterol, and higher in vitamin A, vitamin E and iron. The only significant area that cow’s milk is better nutritionally, is protein. So if you need a dairy-free alternative to cow’s milk, almond milk is a great choice!
Why homemade?
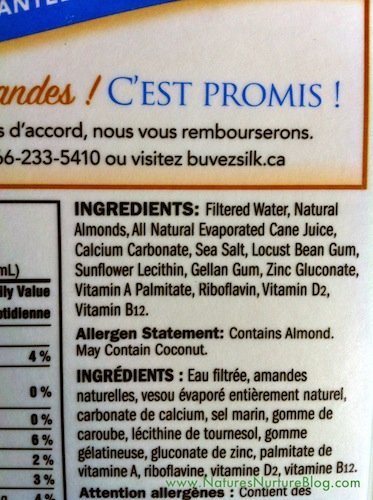
That being said, I’ve been wanting to try making almond milk at home for a while, but it wasn’t until I read this article from Chrystal at Happy Mothering, which warned of the dangers of a common ingredient in coconut and almond milk, carageenan, which has been deemed carcinogenic. Yikes! Although the brand that we’ve been buying, Silk, didn’t list carageenan in the ingredients, it did have a bunch of other ingredients listed on the carton, mostly stabilizers and extra vitamins:
How to Make Homemade Almond Milk
That was it, I decided – I was going to make my own almond milk, once and for all. And I’m so glad I did. It’s so easy, it’s more natural, and honestly, it tastes waaaay better. Plus, you can add in your own extras to flavor it just the way you like!
Soak your almonds
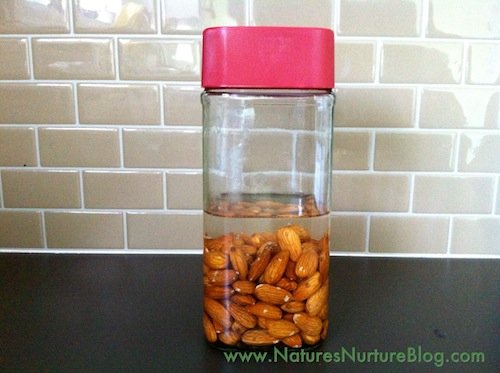
You’ll start out by soaking 1 cup of almonds in just enough water to cover them by an inch or two. The recommended time is 8-12 hours, but if you can only do a couple hours, that’s fine too! Soaking the almonds not only helps to soften them, but it also removes the phytic acid (an enzyme inhibitor), to aid in digestion and nutrient absorption.
Blend your almonds
After soaking, drain the almonds and rinse them. Add them to your blender, and cover with 4 cups water.
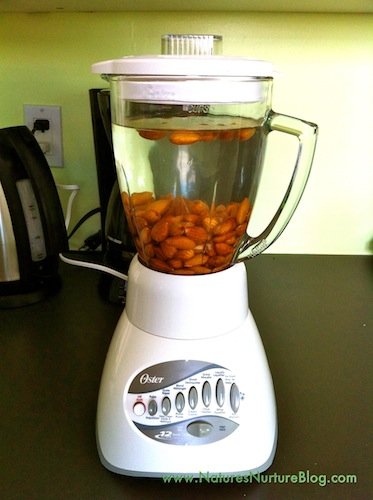
Turn the blender on high and let it go for at least a full minute.
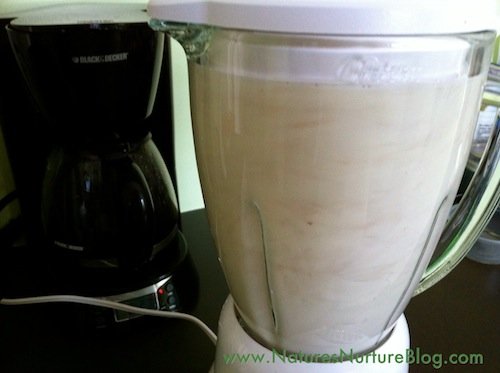
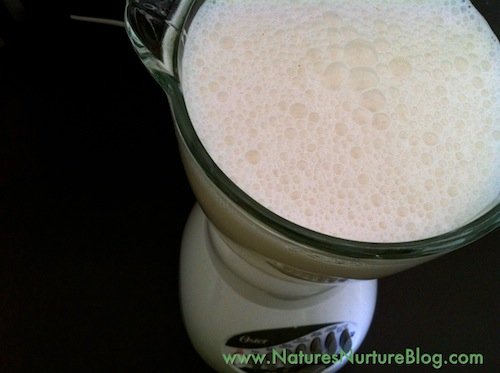
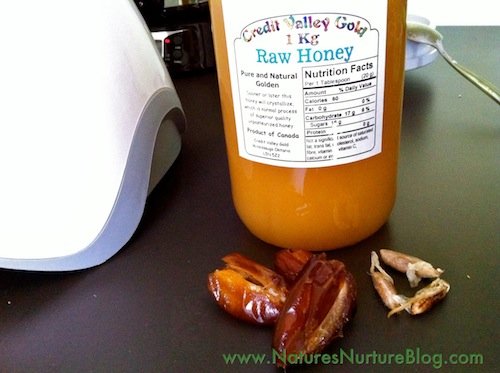
Turn it off. It will be nice and frothy. Taste the milk, and if you like it, you can move on to the next step. But if you’d like to sweeten it like I did, you can add some honey and dates. I added a big tablespoonful of raw honey and 3 dates. Turn the blender back on for another 30 seconds or so.
Strain your milk
Now, you can either leave it like this and drink as it is, which is a bit gritty, or you can strain the milk to remove the almond pulp. Simply line a fine strainer or sieve with 3-4 layers of cheesecloth (or better yet, use a nut milk bag!). Place the strainer over a bowl to catch the milk, and pour your almond milk through the cheesecloth-lined strainer.
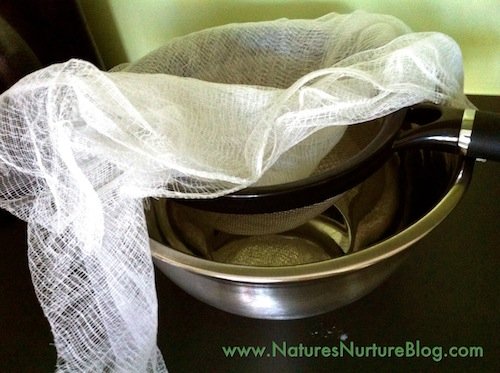
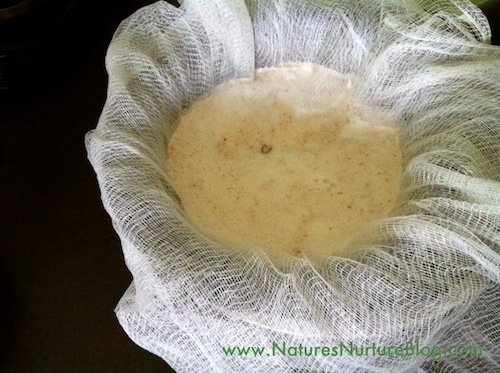
It will take a while, about half an hour or so, for all the milk to make it through the strainer. You can help the process along by pressing the almond pulp with the back of a wooden spoon or spatula. Or you can just get really impatient like I did, and proceed to squeeze the living daylights out of that pulp! … I don’t recommend this though. Patience is a virtue, afterall. 😉
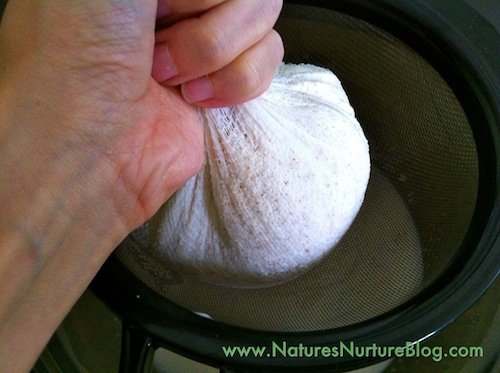
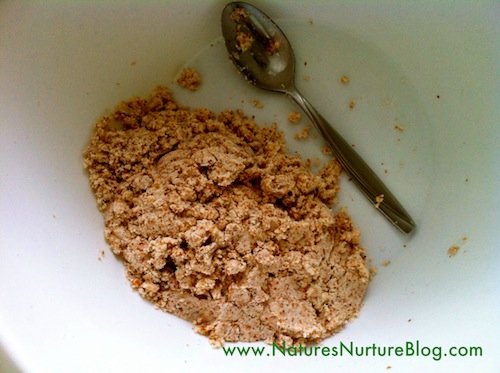
After you’ve strained all the milk, you’ll be left with a good amount of almond pulp. Do NOT throw this away! You’ve just made almond meal (or flour), and can use this in a number of recipes for muffins, cookies, quick breads, etc. More on that below.
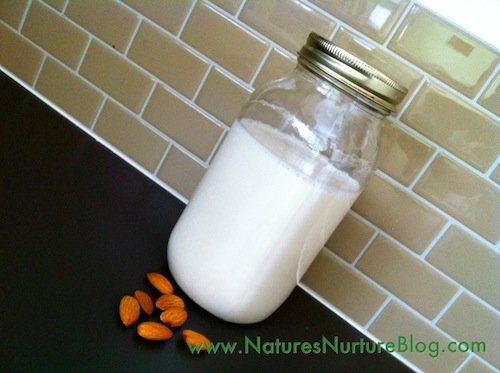
Transfer your milk to a glass jar and keep it in the fridge, and use it as you would normally use cow’s milk. Put it on cereal, use it in smoothies, drink it plain or with chocolate syrup. I’ve also tried it in coffee, but didn’t like it at all, so I’d advise against that.
Some extra notes:
- It should keep in the fridge for up to 4 days, although we’ve kept ours for about a week without an issue. Just smell the milk; if it smells funky, then its time has come.
- After a while in the fridge, the milk will begin to separate, so just make sure to shake or stir it real well before you use it.
- You can experiment with flavoring the milk: increase the dates, decrease the honey, add some vanilla or cinnamon, cocoa powder, maple syrup… whatever your heart (or tummy) desires!
For a thicker, creamier milk: I found this post from One Ingredient Chef, and he advises to heat your milk for a few minutes to help thicken it up to the consistency of regular milk or even cream! I’m trying this out for sure.
What about the almond pulp?
I’m glad you asked! Like I said before, please don’t throw this away. It’s very nutritious stuff, and it’s not everyday you can make something that uses the ingredients AND the byproduct for a truly no-waste product!
Your almond pulp will be very wet and chunky. You have two options at this point: turn it into almond meal/flour or use it as is.
Drying your almond pulp
You’ll need to dry out the pulp before you can use it in recipes that call for almond flour. If you have a dehydrator, you can put it in at 115 degrees and leave it overnight until it’s dry. If you’re using an oven like I did, line a baking sheet with parchment paper, spread the almond pulp into a thin layer, and put it in your oven on the lowest possible setting.
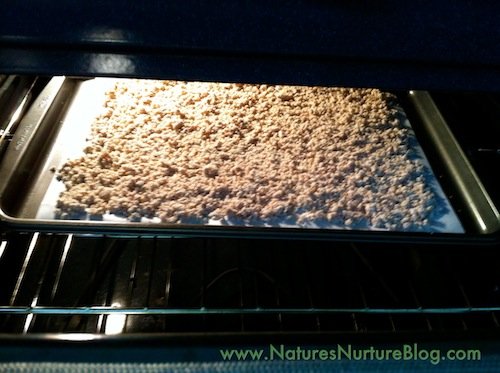
Start checking on it after a couple hours. Stir it up every once in a while so it dries evenly. Mine was done after about 3 hours. I’ve read you can also leave the door open to release any moisture, which helps it dry faster. I couldn’t do this because of my toddler running around, so I imagine it could go even faster if you’re able to do this.
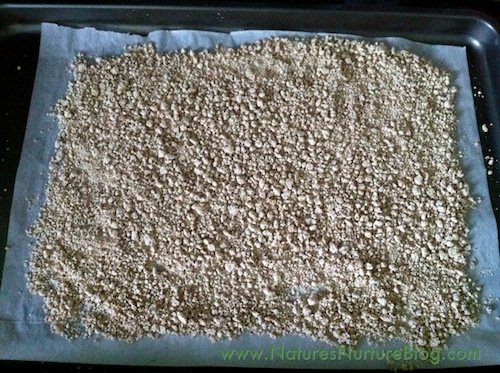
Once it’s dry, put it into your food processor and give it a good whirl to break up the pieces and process it to a fine powder.
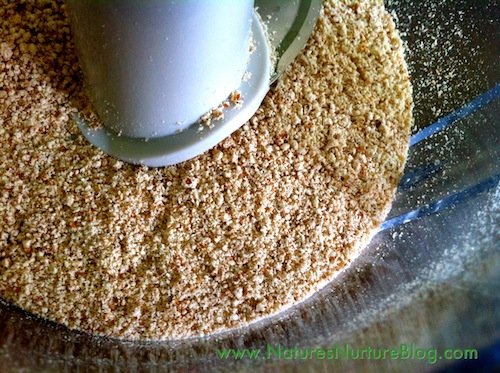
Behold, you now have almond meal (or almond flour)! The one cup of almonds should give you just about a cup of almond meal. You can use it in any recipe that calls for almond flour, or you can replace some (not all) of the wheat flour in your favorite recipes – muffins, cookies, quick breads are all great choices!
How to Use Leftover Almond Pulp
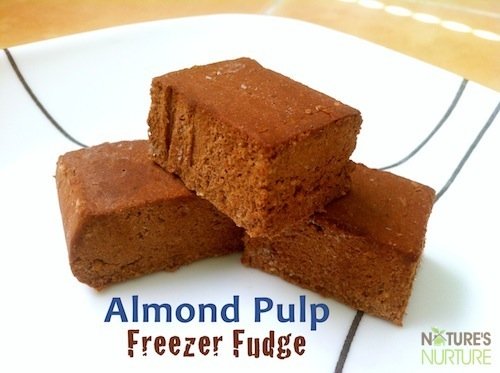
As great as it is to dry out the pulp and use it in recipes, I find that I just can’t use it all up fast enough. So I end up just throwing the wet pulp in a big freezer bag and storing it in the freezer until I’m ready to use it. I’ve made these almond pulp freezer fudge many times and love it!

Homemade Almond Milk
Equipment
Ingredients
Instructions
- Place almonds and water in blender and blend on high for one minute.
- Add honey and dates, and blend for another 30 seconds.
- Line strainer with cheesecloth and place over bowl. Pour milk through strainer and let sit for about half hour for all the milk to drain.
- Transfer milk to glass container and keep in fridge for up to 4 days. You can toss out the leftover almond meal or follow the steps below to turn it into almond meal.
Processing Almond Meal (Optional)
- Spread out almond pulp on a parchment-lined baking sheet and bake at lowest setting for about 3 hours, until completely dry.
- Put dried almond meal in food processor and whirl until it's a fine powder. Use in baking recipes that call for almond flour.
Notes
Add honey and dates, and blend for another 30 seconds.
Line strainer with cheesecloth and place over bowl. Pour milk through strainer and let sit for about half hour for all the milk to drain.
Transfer milk to glass container and keep in fridge for up to 4 days.
Spread out almond pulp on a parchment-lined baking sheet and bake at lowest setting for about 3 hours, until completely dry.
Put dried almond meal in food processor and whirl until it's a fine powder. Use in baking recipes that call for almond flour.


I wonder if you ground dehydrated nut milk pulp in a spice grinder it would replace milk powder in recipes that call for that? I have used this trick for nut flour and it really does work so why not take it a step further? Hey, inquiring minds want to know.
An interesting inquiry indeed!
Hi Sarah. I like your website and your information that you share. I’m really more of a lurker and have never commented before…but I mostly use almond meal/flour to make almond milk now as it is so much quicker for me. I also use a small glass bodum press pot instead of a strainer or nut bag, it’s all about repurposing this year. I also save up the remaining pulp to make vegan cheeses with or dry it out when I have enough and make a batch of creamer for my tea/coffee. This is the first success at that for me😁
I’ll definitely try this recipe, though! It sounds easy to make, and I’d love to try to make my own Almond milk, especially after discovering that the average container of Almond milk contains exactly TWO almonds! They are selling. you expensive water, and I’d rather have my own home-made, non toxic ingredients, wholesome almond milk that actually contained almonds and not just coloured water. : )
But no, do not add Calcium to your almond milk. Milk products are not even healthy for people beyond infancy and childhood stage….
Right on, Alisa! Those sound like some awesome repurposing hacks!
AWEsome article. Appreciate the drying information. That is the step I have been missing to successfully reuse my meal.
I often sweeten and flavor my milk with honey or molasses, dates are not on my preferred list. Boiling the milk with Chai herbs or cinnamon and vanilla are great. Also a little pulp and milk in a smoothie are great
Oh yum, now i’m craving a cup of almond milk chai! Thanks for sharing, LaKyshia 🙂