


Fruit leathers (or fruit roll-ups, as they’re commonly known) are a great treat to help satisfy that sweet tooth, but the store-bought versions can be filled with lots of processed sugars, artificial colors, and preservatives. Making homemade fruit leather is a great alternative to the boxed varieties since you have full control over the ingredients. Not only that, but it’s very simple to make and the best part is playing around and coming up with different flavor combinations!
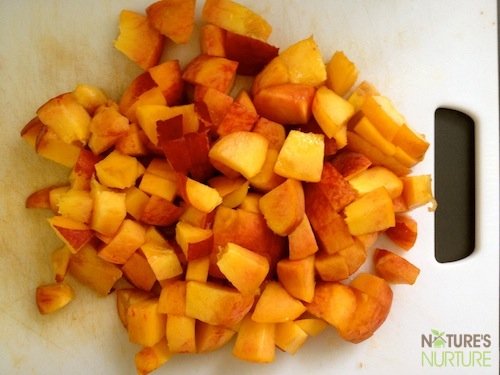
If you’ve got an abundance of either fresh or frozen fruit, or if you’ve got some fruit that’s past its prime, homemade fruit leather is the perfect summer project for preserving your bounty! All you really need is the fruit, but you may also want to add a little sweetener (I use honey) and/or some spices (cinnamon, nutmeg, allspice, almond extract, etc.) to add some extra depth and flavor.

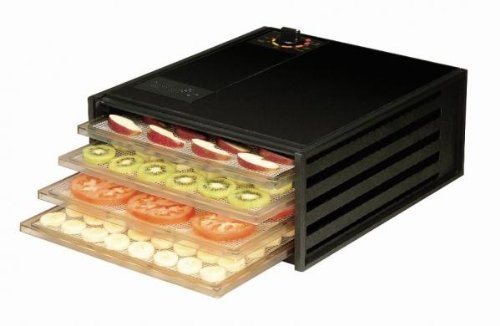 When I make fruit leather, I use one of my favorite kitchen gadgets – my dehydrator. A dehydrator is basically a small oven that dries foods at very low temperatures by circulating the air using a small fan. Because the temperature is so low, the healthy enzymes in the foods are kept intact, as opposed to being destroyed by the high heat from an oven. If you don’t have a dehydrator, that’s ok; you can still make fruit leather in the oven, and I’ve included instructions for both methods below.
Prepare Your Fruit
You’ll start by washing and chopping your fruit. Then, throw it into a blender or food processor and puree until smooth. You want it thick enough so that it pours easily, but not so thin that it will spread out and not hold its shape. If it’s too thick, try thinning it out with some water or juice. If too thin, try adding a fruit with a lower water content like banana.
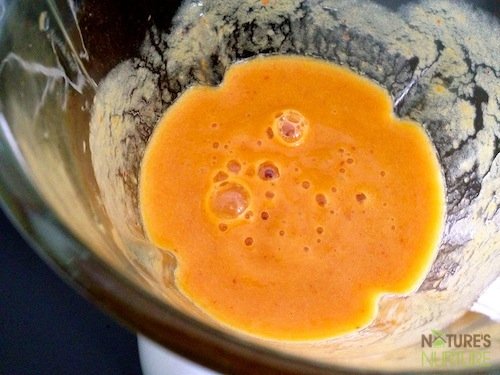
Taste the puree and add a liquid sweetener or spices, if desired. Keep in mind that as the fruit dehydrates, the flavor becomes stronger and more concentrated. Very ripe fruit probably won’t need much sweetener, if any at all. If you’re afraid of your fruits changing color, you can add a little lemon juice to the puree to preserve its color, but I usually don’t bother.
Prepare Your Trays
Line your dehydrator trays or oven pans with either some parchment paper or silicone baking mats. Parchment paper tends to get wrinkly from the moisture of the fruit, but it won’t really affect the end result. I think you can try brushing the parchment with oil beforehand to prevent the wrinkling, although I haven’t tried that. If you use silicone baking mats, you’ll end up transferring the finished product to some parchment paper anyways to help roll it up, so keep that in mind as well.
Some people also line their pans with plastic wrap, but I try to avoid using plastic as much as possible, especially when there’s heat involved. Dehydrators also have special Paraflexx sheets that you can buy, but they’re made from nonstick Teflon material, which I also like to stay away from. I think I may eventually just buy some silicone mats that are fitted for my dehydrator trays – though I’m still looking for the right size.
Spread The Puree
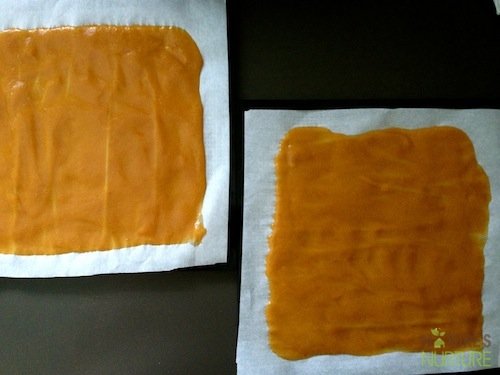
Pour your pureed fruit onto your trays/pans and spread in a thin layer as evenly as possible. The more evenly it’s spread, the more evenly it will dry. Make sure the edges aren’t too thin, otherwise they’ll get hard and crack before the center is done. You want it to be about 1/8 – 1/4-inch thick all around. Also, leave about 1″ border around the edges. For reference, I made 3 cups of chopped fruit and it filled 2 dehydrator trays. If using oven pans, I think the same amount will fill a large 13″ X 11″ or 13″ X 15″ sheet pan.
Dry The Puree
In the dehydrator: Follow the instructions on your dehydrator for making fruit leather. On mine, I put the temperature to 115 degrees and let it go for about 10-12 hours. Start checking your leather at about 8 hours. When it’s done, it should be shiny, leathery, and just barely sticky to the touch. When you press your finger into it, it shouldn’t leave an indent. It should also be pliable and peel off easily from the parchment/silicone sheet.
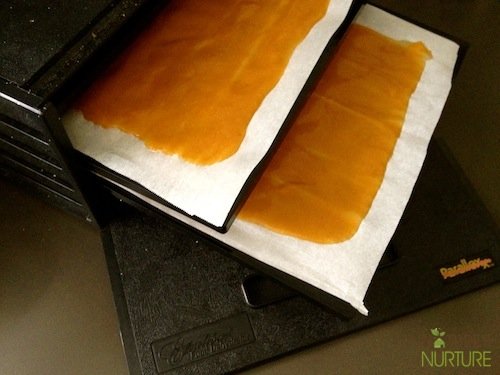
In the oven: Set your oven to the lowest temperature possible. The ideal temperature is 145 degrees; however, most ovens will only go down to about 170 degrees. Depending on the temperature of your oven, it can take anywhere from 4 – 10 hours to dry. To help the air in the oven circulate more freely and reduce drying time, you can prop open your oven door with a wooden spoon (although this is not recommended if you have small children at home).
When your fruit leather is done, it should be shiny, leathery, and just barely sticky to the touch. When you press your finger into it, it shouldn’t leave an indent. It should also be pliable and peel off easily from the parchment/silicone sheet.
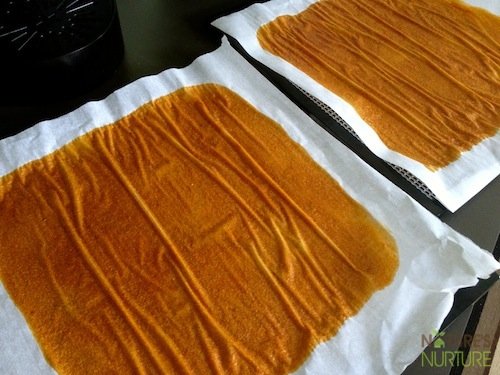
Store The Fruit Leather
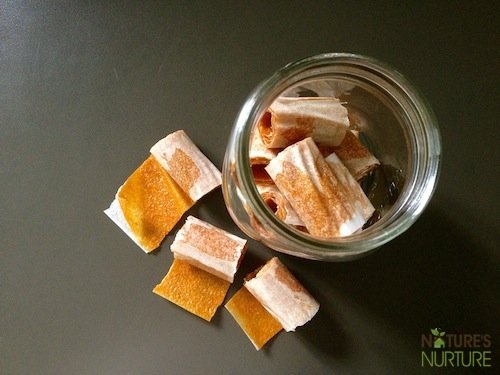
Once your homemade fruit leather is finished, let it cool to room temperature. If you used parchment paper, you can just roll up the leather in the paper and either leave it as is, or cut it into strips using a knife or scissors. If you used a silicone mat, peel the fruit leather from the mat and lay it on a sheet of parchment paper or plastic wrap, roll it up, and either store as is or cut it into strips.
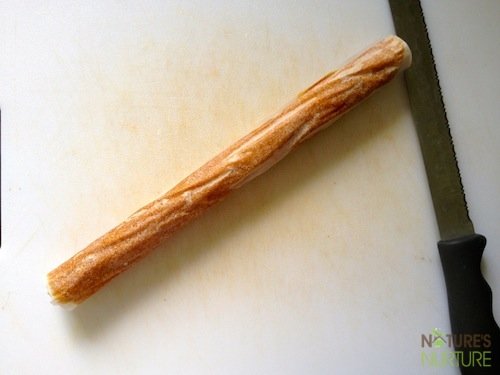
Place your homemade fruit leather rolls or strips in an air-tight glass or plastic container. Keep at room temperature in a cool, dark place for 2-4 weeks, or in the freezer for up to a year.
Best Fruits To Make Fruit Leather
Some fruits are just perfect for dehydrating and making homemade fruit leather, so try any of the following fruits either on their own or get creative and experiment with different fruit combinations: apples, apricots, bananas, berries, cherries, nectarines, peaches, pears, and pineapples.
Have you ever made homemade fruit leather? What are your favorite flavor combinations?
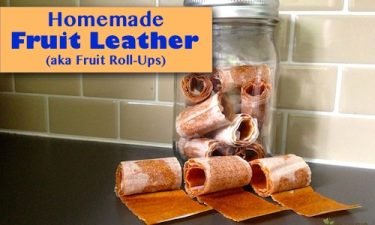
Homemade Fruit Leather
Equipment
- Dehydrator or you can just use your oven
Ingredients
- 6 cups chopped fruit
- liquid sweetener optional
- spices optional
- Lemon juice optional
Instructions
- Add chopped fruit to blender or food processor and puree until smooth.
- Add sweetener, spices, and/or lemon juice, if using, and puree again.
- Line dehydrator trays or oven pans with parchment paper or silicone baking mats.
- Pour puree onto trays and spread as evenly as possible, about 1/8 - 1/4-inch thick. Leave about 1" border around the edges.
For Dehydrator
- Dehydrate at 115-135 degrees and let it go for about 10-12 hours. Start checking your leather at about 8 hours.
For Oven
- Set your oven to the lowest temperature possible. The ideal temperature is 145 degrees (most will only go to 170 degrees, so you can try propping the door open to circulate more air). Depending on temperature, it can take anywhere from 4 – 10 hours to dry.
- Fruit leather is done when it's shiny, leathery, and just barely sticky to the touch. When you press your finger into it, it shouldn’t leave an indent. It should also be pliable and peel off easily from the parchment/silicone sheet.
Notes
If your leather starts to get too crispy on the edges before the center is done, you can brush the edges with a little water to rehydrate them.



Can you make some ahead of time? The puree part? Or how to store it if you have more then you can dry? Refrigerator?
This stuff is great lol.
I imagine it would keep in the fridge for a few days, but not sure about freezing it.
Hi. What’s the easiest to use? Paraflexx or baking paper? Which one is the stickier? Thanks.
I haven’t used the Paraflexx sheets, but I can tell you the baking paper is pretty easy to use. It does create waste though, so I’m planning on getting some sheets soon.
Thanks for this. I’m drying strawberries this time. Can’t wait to try cherries this summer.
Oooh cherries sounds awesome! Enjoy! 🙂
Hi;in the mud lands
My fruit leather or roll-ups crack like a drout in the mud-lands? They look like suede not leather…lol?
i find it most with pears and apples?
Thanks for your time
Mark
Hey mark,
I think you cooked yours too long. Mine today are just fine, but I think I could have cook them maybe a little less, cause they were starting to crack on the side too much. Maybe your layers were too thin. Anyway practice makes perfect. The wooden spoon in the oven door worked real well for me. It has cut the cooking time by half.
Manon.
Looks great. I am gonna try this.
Have you ever frozen your fruit leather? What’s the best thawing process, and how does it taste after? Thanks!
Hmm, I’ve never tried it and I’m not sure if it would work. But it can’t hurt to try it with a few rolls and see how it works out!